Return to 6502 Group Home Page
Experimental Ray Tracer
by Loren Blaney
These images were produced by a C program that can be downloaded below.
Click on an image for an enlarged view.
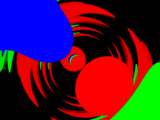
 My
first image. A red ball and two reflective spheres. The blue and white
grid provides a reflected image.
My
first image. A red ball and two reflective spheres. The blue and white
grid provides a reflected image.
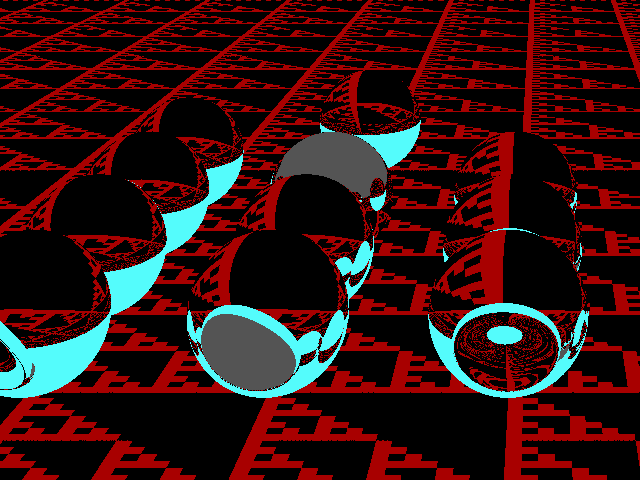
 Sierpinski
Gasket on a Navajo Rug. Ten glass marbles and a steely. This uses only
16 colors. The Sierpinski gasket was actually made by mistake. I was trying
for a much less interesting grid pattern. The gasket is surprisingly easy
to make, the basic idea being to plot red where (X & Z) != 0.
Sierpinski
Gasket on a Navajo Rug. Ten glass marbles and a steely. This uses only
16 colors. The Sierpinski gasket was actually made by mistake. I was trying
for a much less interesting grid pattern. The gasket is surprisingly easy
to make, the basic idea being to plot red where (X & Z) != 0.
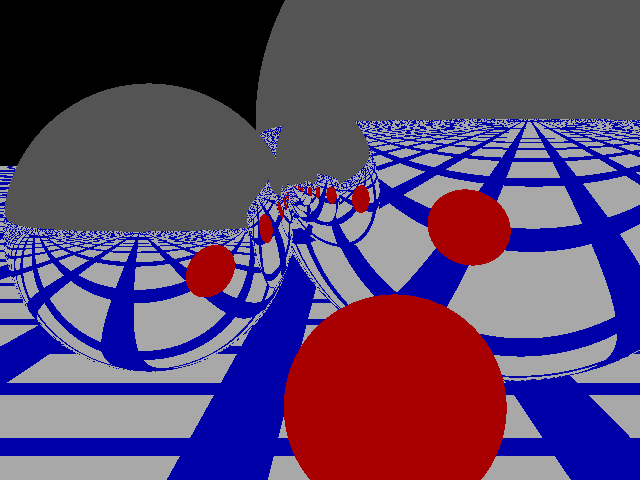
 Two
glass spheres and a metal one. Reflections have been added to the glass.
More than 256 colors were calculated for this image. The colors beyond
256 were were drawn using the closest available color. Color is a 3-dimensional
vector (red, green, blue) and color calculations obey the laws of vector
arithmetic, just as rays do. The reflective loss is modeled as a filter
which is subtractive, rather than multiplying by a percentage, which is
probably more correct.
Two
glass spheres and a metal one. Reflections have been added to the glass.
More than 256 colors were calculated for this image. The colors beyond
256 were were drawn using the closest available color. Color is a 3-dimensional
vector (red, green, blue) and color calculations obey the laws of vector
arithmetic, just as rays do. The reflective loss is modeled as a filter
which is subtractive, rather than multiplying by a percentage, which is
probably more correct.
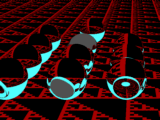
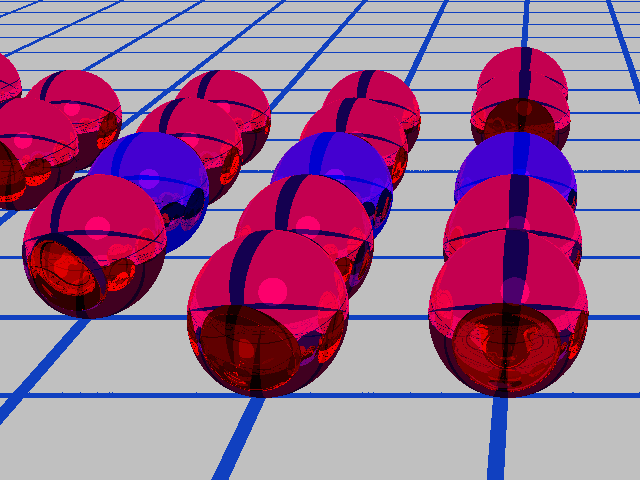
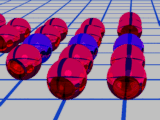 Seventeen
glass marbles (14 red, 3 blue) plus a light source up above. Multiple reflections
and refractions.
Seventeen
glass marbles (14 red, 3 blue) plus a light source up above. Multiple reflections
and refractions.
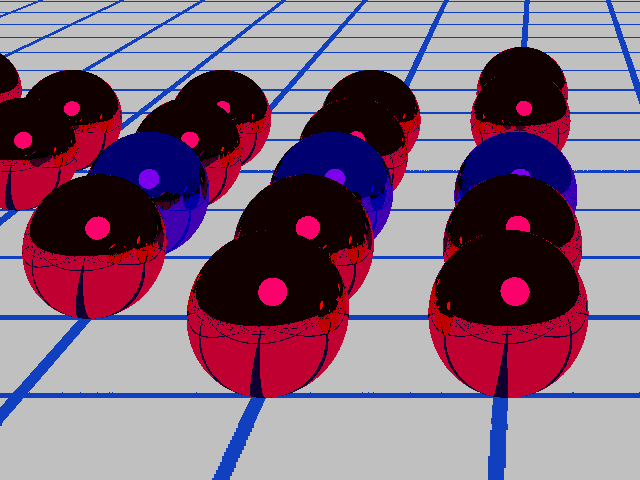
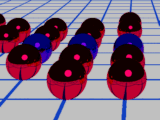 Christmas
Bulbs! Same as before but with metal instead of glass. This makes the reflected
images easy to distinguish from the refracted images shown before.
Christmas
Bulbs! Same as before but with metal instead of glass. This makes the reflected
images easy to distinguish from the refracted images shown before.
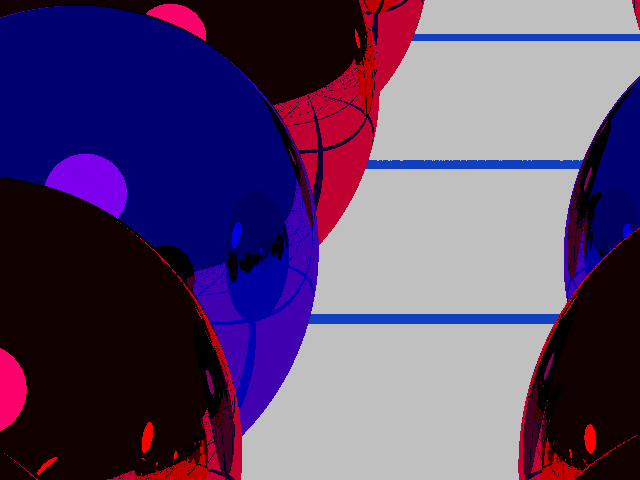
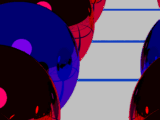 Same
as before but zoomed in on the center blue bulb. This shade of blue shows
the reflected image more clearly than the red because it is not as sharp
a filter.
Same
as before but zoomed in on the center blue bulb. This shade of blue shows
the reflected image more clearly than the red because it is not as sharp
a filter.
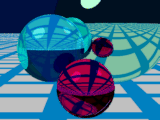
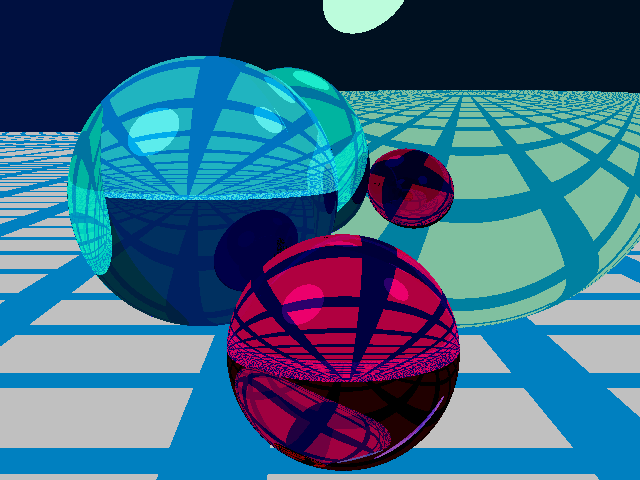
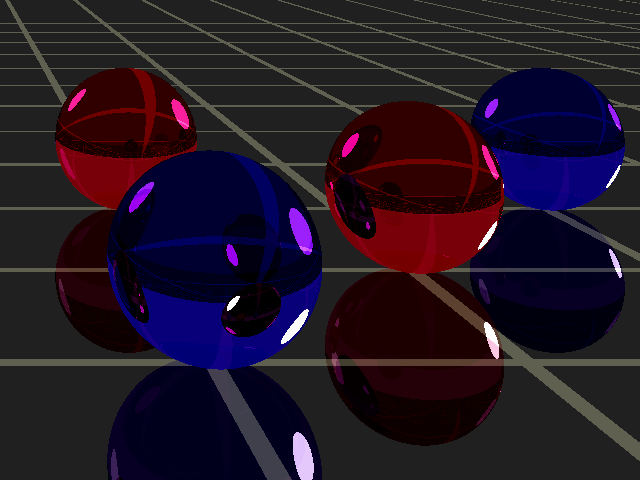
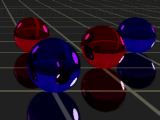 Happiness
is a Clean Floor. Two red and two blue marbles on a polished black floor
with the moon above.
Happiness
is a Clean Floor. Two red and two blue marbles on a polished black floor
with the moon above.
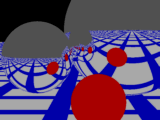
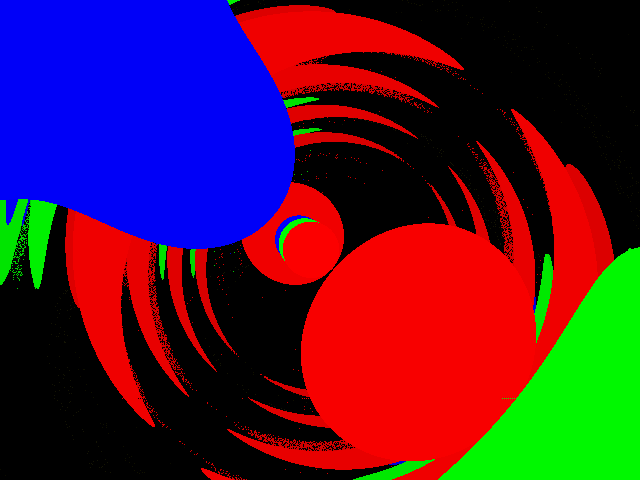
 Inside
a Christmas Bulb. Your eyeball is just inside the front surface of a large,
reflective sphere with a radius of 2000. Also inside are three other balls
colored red, green, and blue. These balls each have a radius of 75, and
are located as shown below:
Inside
a Christmas Bulb. Your eyeball is just inside the front surface of a large,
reflective sphere with a radius of 2000. Also inside are three other balls
colored red, green, and blue. These balls each have a radius of 75, and
are located as shown below:
|Your
1333
|
|Eye
i2
Back|
|i1
Red Grn| Blue f
Wall|
+------------------------------------+---------+--+-+----+-----------------+
|4000
2000 1500 | 1000
0|
|Front
Center 1250
|
|Wall
|
As anyone who has really looked into optics knows, the formula for the
inside of a Christmas bulb is:
1/i1 + 1/i2 = 1/f
The focal length (f) is halfway between the center and the back wall,
thus f = 1000. Your eyeball, at the front wall, (i1) is 4000 from the back
wall. The point i2 is the point that is focused, and it is calculated as
follows:
1/4000 + 1/i2 = 1/1000
1/i2 = 1/1000 - 1/4000
i2 = 1/(1/1000 - 1/4000) = 1333
The blue ball is closest to this point, and it is reassuring to see
that blue does indeed predominate the image.
The chaotic asteroid belts are a complete mystery. They might be due
to rounding errors although double precision calculations are used throughout.
I refuse to believe that even with 64 reflections, each magnifying the
image, one can see the individual photons!
The green scratch is probably caused by a flaky ATI Wonder Card.
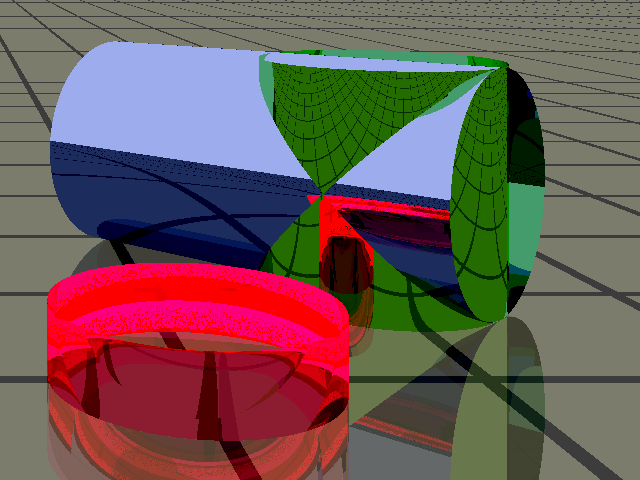
 It'll
do cylinders too. The blue and green cylinders intersect.
It'll
do cylinders too. The blue and green cylinders intersect.
These images are the results of my ray tracing experiments. Perhaps
you would like to take up where I left off. I've tried to make the code
easy to understand by adding lots of comments.
The ray tracer is intended more for programmers who are curious about
how ray tracing works, rather than for artists who are trying to make a
nifty image, since the user interface is not exactly friendly.
The current version requires a super VGA display (640x480x256 colors),
although it could easily be modified to use a standard VGA display (320x200x256
colors). You might need to change the definition of MODE in the program
to work for your particular brand of super VGA card. I used an ATI Wonder
Card.
A math coprocessor is nice but not essential. This program is much faster
than other ray tracers that can take hours to produce similar images.
While the program is running, the arrow keys can be used to shift the
image. Also the keys "." and "," can be used to zoom in and out in 10%
steps, and the ">" and "<" keys zoom by a factor of 2. Each time one
of these keys is pressed the ray tracing starts over from the beginning.
"Esc" aborts the program.
Pressing the "Enter" key saves the current image to the file specified
following "RAY" on the command line. If no file is specified, the default
file name "RAYIMAGE.LBM" is used. LBM is the image format that I happen
to be familiar with. It's the one that is universally used in the Amiga
world, where it is known as IFF. I use Graphics WorkShop (GWS) to convert
this format to GIF, which is more suitable for the PC world, and is considerably
more compressed (the LBM has compression turned off for simplicity).
There are many books that discuss ray tracing; some seem to make it
more difficult than it really is. I recommend the article in Byte Magazine,
December 1990, page 263. If you want more than that, try "Interactive Computer
Graphics" by Burger and Gillies. The key is to understand vectors. These
are typically explained in books with titles such as "Calculus with Analytic
Geometry". Don't let the calculus portion intimidate you -- just skip to
the chapter on vectors.
If you improve this program, I'd sure like to see a copy. You can reach
me at: loren_blaney@idcomm.com
Download raytrace.zip (192k, 23-Jan-92)
Return to 6502 Group Home Page
Last updated: 13-Feb-2004
 My
first image. A red ball and two reflective spheres. The blue and white
grid provides a reflected image.
My
first image. A red ball and two reflective spheres. The blue and white
grid provides a reflected image.
 Sierpinski
Gasket on a Navajo Rug. Ten glass marbles and a steely. This uses only
16 colors. The Sierpinski gasket was actually made by mistake. I was trying
for a much less interesting grid pattern. The gasket is surprisingly easy
to make, the basic idea being to plot red where (X & Z) != 0.
Sierpinski
Gasket on a Navajo Rug. Ten glass marbles and a steely. This uses only
16 colors. The Sierpinski gasket was actually made by mistake. I was trying
for a much less interesting grid pattern. The gasket is surprisingly easy
to make, the basic idea being to plot red where (X & Z) != 0.
 Two
glass spheres and a metal one. Reflections have been added to the glass.
More than 256 colors were calculated for this image. The colors beyond
256 were were drawn using the closest available color. Color is a 3-dimensional
vector (red, green, blue) and color calculations obey the laws of vector
arithmetic, just as rays do. The reflective loss is modeled as a filter
which is subtractive, rather than multiplying by a percentage, which is
probably more correct.
Two
glass spheres and a metal one. Reflections have been added to the glass.
More than 256 colors were calculated for this image. The colors beyond
256 were were drawn using the closest available color. Color is a 3-dimensional
vector (red, green, blue) and color calculations obey the laws of vector
arithmetic, just as rays do. The reflective loss is modeled as a filter
which is subtractive, rather than multiplying by a percentage, which is
probably more correct.
 Seventeen
glass marbles (14 red, 3 blue) plus a light source up above. Multiple reflections
and refractions.
Seventeen
glass marbles (14 red, 3 blue) plus a light source up above. Multiple reflections
and refractions.
 Christmas
Bulbs! Same as before but with metal instead of glass. This makes the reflected
images easy to distinguish from the refracted images shown before.
Christmas
Bulbs! Same as before but with metal instead of glass. This makes the reflected
images easy to distinguish from the refracted images shown before.
 Same
as before but zoomed in on the center blue bulb. This shade of blue shows
the reflected image more clearly than the red because it is not as sharp
a filter.
Same
as before but zoomed in on the center blue bulb. This shade of blue shows
the reflected image more clearly than the red because it is not as sharp
a filter.
 Happiness
is a Clean Floor. Two red and two blue marbles on a polished black floor
with the moon above.
Happiness
is a Clean Floor. Two red and two blue marbles on a polished black floor
with the moon above.
 Inside
a Christmas Bulb. Your eyeball is just inside the front surface of a large,
reflective sphere with a radius of 2000. Also inside are three other balls
colored red, green, and blue. These balls each have a radius of 75, and
are located as shown below:
Inside
a Christmas Bulb. Your eyeball is just inside the front surface of a large,
reflective sphere with a radius of 2000. Also inside are three other balls
colored red, green, and blue. These balls each have a radius of 75, and
are located as shown below: